|
|
|


Scorecerer iPad lets you create playlists, annotate your songs, and set various song and MIDI/DAW device preferences. The main Scorecerer window lets you access the songs saved on your iPad (once you synced with your desktop computer), set various preferences, and access this Help file.
![]() Using Scorecerer in your iPad:
Using Scorecerer in your iPad:
1.Launch the Scorecerer app by tapping the Scorecerer icon.

Scorecerer opens a Welcome screen.
![]() Tap the Load Song
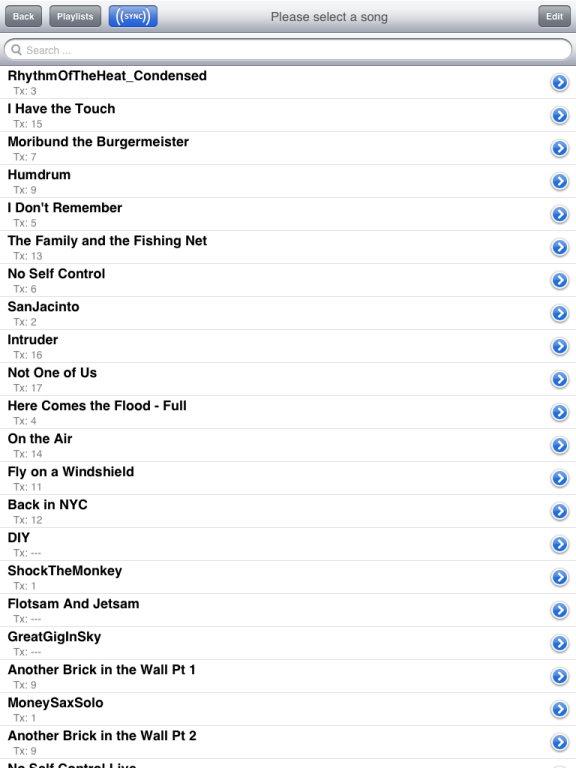
Tap the Load Song ![]() button in the lower-left corner of your iPad screen to open the list of songs stored on your iPad, or swipe your iPad vertically with two fingers.
button in the lower-left corner of your iPad screen to open the list of songs stored on your iPad, or swipe your iPad vertically with two fingers.
Note: If you have not done so already, you should sync your iPad with your Scorecerer desktop application, to load your songs onto your iPad.
![]() Tap the Back button to return to the previous screen.
Tap the Back button to return to the previous screen.
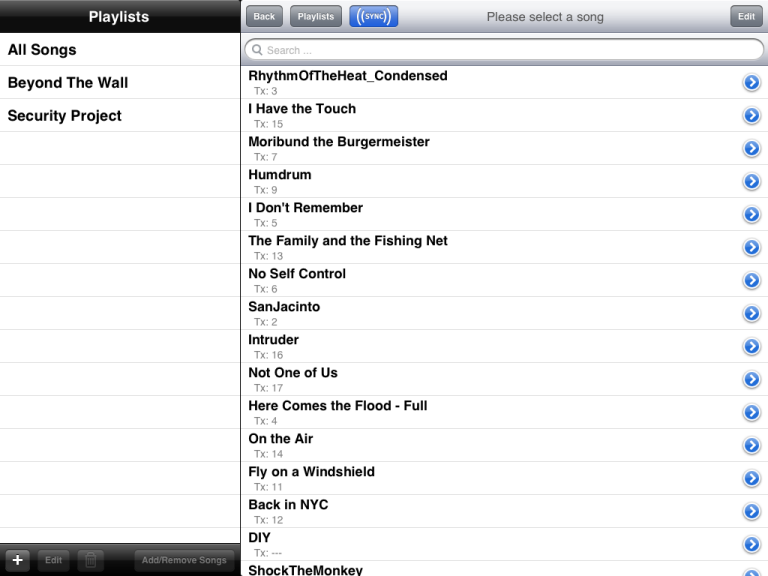
![]() Tap the Playlist button to view the playlists you've created. Scorecerer displays a list of your playlists.
Tap the Playlist button to view the playlists you've created. Scorecerer displays a list of your playlists.
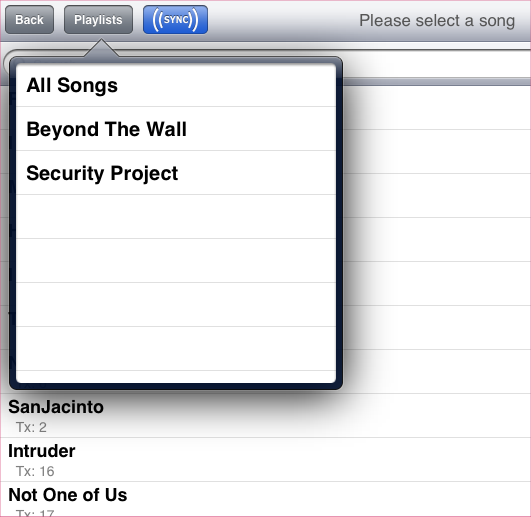
Turn your iPad to landscape mode to enter Playlist view. Click here for more information on playlists.
![]() Tap the
Tap the ![]() button to sync your iPad with your desktop and download your songs..
button to sync your iPad with your desktop and download your songs..
![]() Tap the Preferences
Tap the Preferences ![]() button in the lower-right corner of your iPad to access the Preferences screen, where you can set General, MIDI Setup and MIDI Page Control preferences.
button in the lower-right corner of your iPad to access the Preferences screen, where you can set General, MIDI Setup and MIDI Page Control preferences.
![]() Tap the Help
Tap the Help ![]() button in the lower-right corner of your iPad to access this Help file
button in the lower-right corner of your iPad to access this Help file
![]() To open and turn pages in a song:
To open and turn pages in a song:
1.Tap the Load Song ![]() button in the lower-left corner of your iPad screen to open the list of songs stored on your iPad.
button in the lower-left corner of your iPad screen to open the list of songs stored on your iPad.
2.Tap a song name to open it.
3.Turn the pages in the song:
▪Tap the right-hand side of the page to turn the page forward. The top of the page turns green for a second and a progress bar indicates how far into the song you are.
▪Tap the left-hand side of the page to turn back a page. The top of the page turns red for a second to indicate that you've turned back.
▪When you reach the beginning or the end of the song, the top of the page turns orange when you tap the side of the song, to let you know there are no more pages to turn.
![]() To jump to the next or previous song on your iPad:
To jump to the next or previous song on your iPad:
1.Tap in the bottom central area of the open song, between the buttons. A small box displays, listing the next and the previous song in your song list.
2.Tap the name of either song to jump to that song.|
Note: If you are looking at the first or the last song in your list of song, only one song name will display in the popup box.
![]() To delete a song on your iPad:
To delete a song on your iPad:
1.Tap the Edit button in the upper-right of your iPad. The standard iPad icons display next to each song.
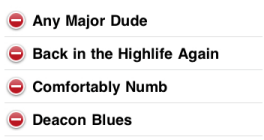
2.Tap the red icon to display the Delete button for that song. You can also swipe your finger from left to right across a song to produce the Delete button.
![]()
3.Tap the Delete button to remove that song from your iPad.
4.Tap the Done button to return to the song list.
![]() To set MIDI and page ordering controls for a song::
To set MIDI and page ordering controls for a song::
1.Tap the blue ![]() icon next to a song.
icon next to a song.
2.Set your song option preferences. Click here for complete details.