|
|
|
You can add graphic and highlight annotations to your songs using the Scorecerer iPad application.
![]() To add graphic and highlight annotations to your songs:
To add graphic and highlight annotations to your songs:
1.Open the song you want to annotate in your iPad.
2.Tap the song at the place where you want to add an annotation, using two or three fingers (the default is 2 fingers), depending upon the value you've set in the General iPad preferences. Annotation view opens, with the Annotation menu.

Tap the Move icon ![]() to move the menu from the top of your screen to the bottom, and vice versa.
to move the menu from the top of your screen to the bottom, and vice versa.
3.Tap the Pencil icon ![]() to add a graphic annotation to your song. Move the Pen Thickness slider to set the width of your annotation. Tap a color box to select the color for your annotation and draw your graphic directly in the song.
to add a graphic annotation to your song. Move the Pen Thickness slider to set the width of your annotation. Tap a color box to select the color for your annotation and draw your graphic directly in the song.
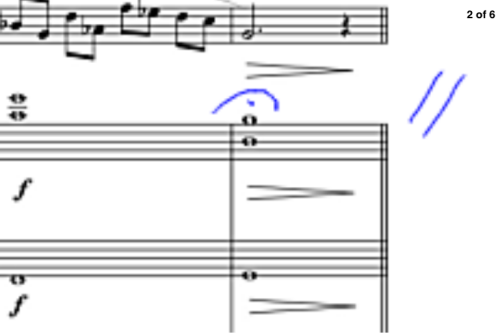
Tap the song again with 2 (or 3) fingers to view your annotation at the proper size.
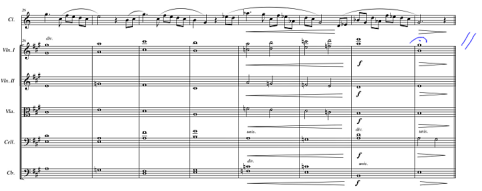
Note: You can set the zoom factor for Annotation view in the General iPad preferences. You may want to change the zoom factor frequently, depending upon what type of annotation you are adding.
4.Tap the Highlighter icon ![]() to add a highlight annotation to your song.
to add a highlight annotation to your song.

Move the Highlighter strength slider to set the color depth of your highlight annotation. Tap a color box to select the color for your annotation and rub the highlight directly into the song.
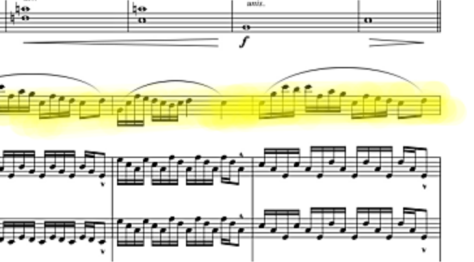
Tap the song again with 2 (or 3) fingers to view your annotation at the proper size.
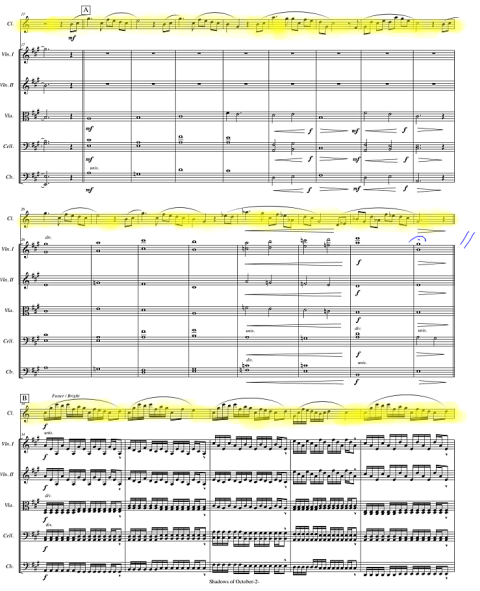
5.Use the other icons on the Annotation toolbar to manage your annotations:
▪Tap the Eraser icon ![]() and use your finger to rub out any annotation you've made during this session.
and use your finger to rub out any annotation you've made during this session.
▪Tap the Undo icon ![]() to remove all the annotations you've entered during this session. This operation will not delete annotations you saved during a previous session.
to remove all the annotations you've entered during this session. This operation will not delete annotations you saved during a previous session.
▪Tap the Delete icon ![]() to remove all the annotations you've made on this song, including annotations that you previously saved. Scorecerer presents a Delete dialog:
to remove all the annotations you've made on this song, including annotations that you previously saved. Scorecerer presents a Delete dialog:
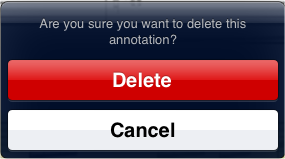
Tap Delete to remove all annotations from this song.

