You can also quickly access the current playlist by swiping downwards on the screen with two fingers.
Step 0: You must have iTunes installed on your computer for the synchronization process to work. Please ensure that iTunes is installed before continuing any further.
Step 1: Start the synchronization process on your Mac or PC
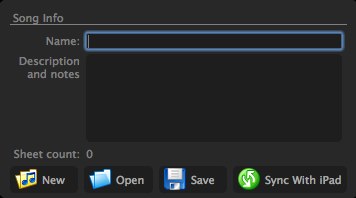
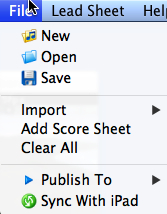
| Scorecerer Desktop Companion - click the "Sync With iPad" button (see below) | Scorecerer Pro - click "File" and then "Sync With iPad" |
|
|
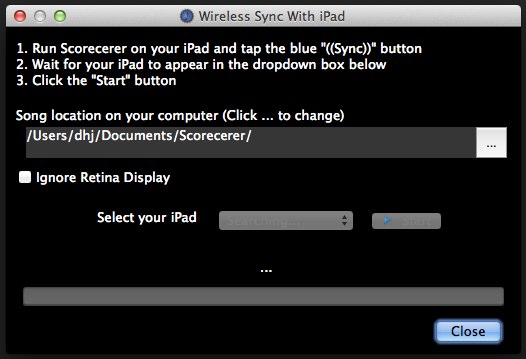
Step 2: You will see a dialog appear as follows: note that the dropdown box where you select your iPad is blank
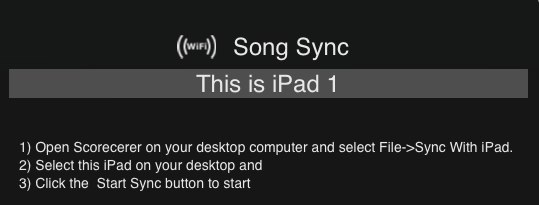
Step 3: On your iPad, running Scorecerer, in the playlist view, tap the ![]() button at the top of the screen. This will display the following dialog (below).
button at the top of the screen. This will display the following dialog (below).
Step 4: Looking again at Scorecerer Desktop/Pro on your PC or Mac, the empty field should now show your iPad. If it does not, make sure that your PC/Mac and your iPad are on the same network.
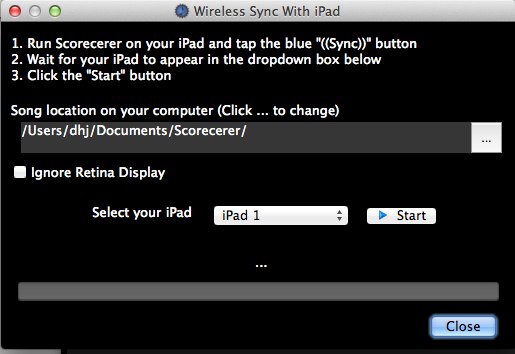
Step 5: Click the Start button to sync the sheet music on to your iPad.
Tap on a song in the playlist to open it to its first page. You can then move forwards and backwards in the song by tapping near the middle right or middle left edge respectively.
Tapping in the middle of a song pops up a song indicator at the bottom of the screen.

The center area displays the names of the current song (middle) and the previous and next song (left and right respectively) of the current playlist. You can tap on the left or right third of that area to immediately switch to previous or next song respectively. Tapping in the center of the area will switch to the first page of the currently loaded song.
To delete a song, click the Edit button on the top right of the display to bring up the standard iPad icons beside each item through which you can delete songs.
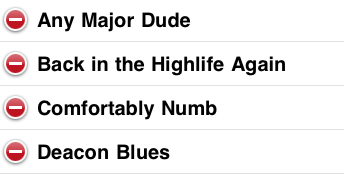
Tapping the red icon will cause the Delete button to appear for that song.
![]()